I finally pulled it together to clean out my garage last Sunday. I've been putting it off since the spring. You'd be amazed at the creative excuses I could come up with to avoid it!
"I couldn't possibly clean the garage, it's going to be dark in three hours!"
"15 degrees is still too cold to clean out the garage. It's freezing!"
"Right after I finish Season 2 of 'Game of Thrones.'"
At any rate, it was getting out of control, and I have a custom order for a harvest table to work on, and it would no longer fit in the sunroom. So, I bought a new lock for the shed, moved the bicycles out of the garage into the shed, and then started moving furniture and stacking wood!
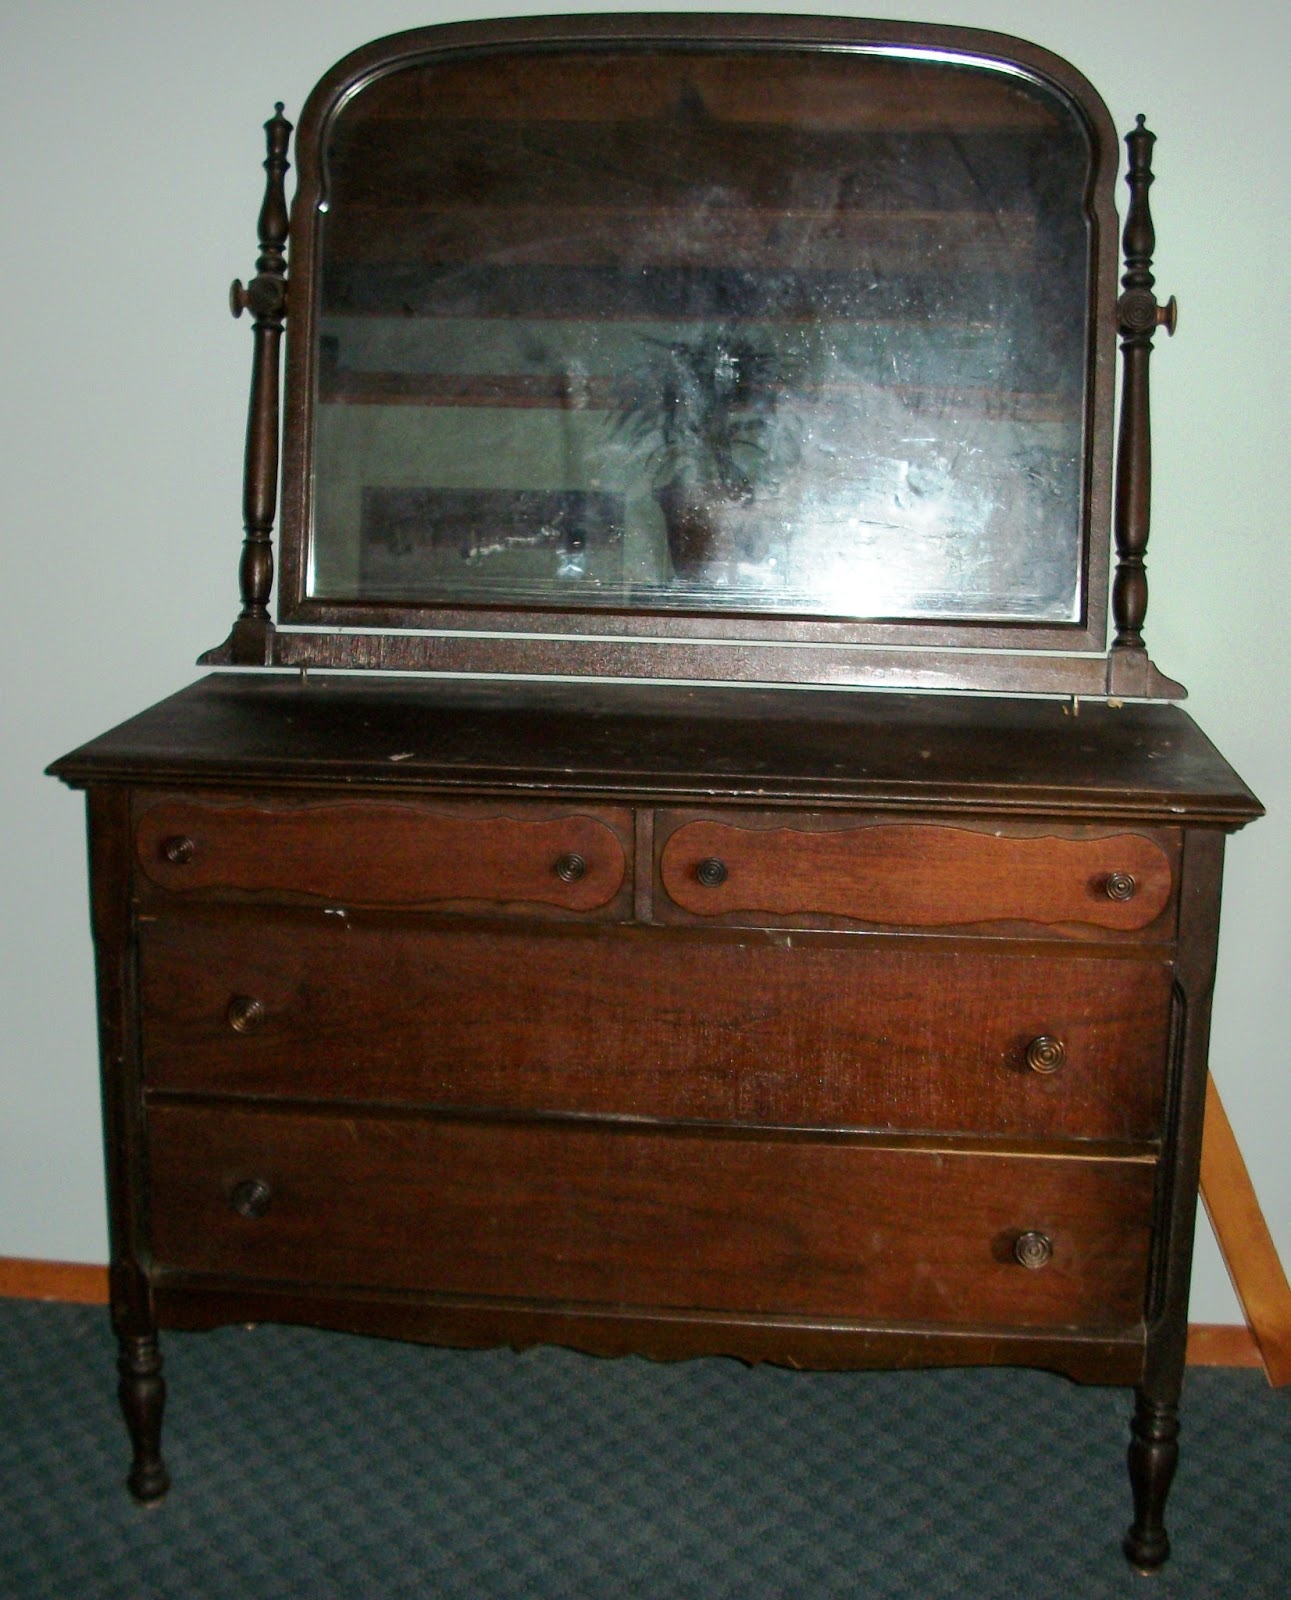
First, I moved this amazing bureau I got for free a few months ago:
I can't wait until I have a chance to work on it. I've fixed some of the inner workings already - it needed a new drawer slide so I cobbled one together from some scrap wood. I still need to plane the drawers a bit...and then painting! Any colour suggestions?

Then I got some help to move this huge vintage cabinet into the house.
I work from home and have been storing my work equipment and folders in an old plastic tote.
This is a much better solution!
Originally, I wanted to make this into a '50 Shades of Grey' cabinet, but I stalled out on it in the Fall and then the winter hit....and I was living in a landscape of shades of grey and wasn't inspired to finish it (plus it was freezing in the garage in minus 20 degrees!).
I finished the coats of paint after it was moved inside (although most of them had been done in the garage), sprayed the long mirror (which has smoked over the years) with blackboard paint.
I still need to do something with the smaller square mirror, but maybe I'll leave that to another season!
I've collected quite a stash of scrap lumber on pallet wood and was finally able to finish these signs for a wedding later in August. Just making things happen and getting things done!
And if you're looking for a unique, ultra feminine dresser and bedside table set, I've got what you need! These lovely pieces are for sale for $295 (for the set).


